** Full YouTube Video to Follow **
The Story
I was first introduced to Grassi Knob by my friend Stacy. She called me on a Friday morning and said “Hey, I’m going out for a run, wanna come?” to which I had to decline as I had a meeting in half an hour. Long story short, my meeting was cancelled last minute so I called Stacy and said “Have you left yet?”. She replied “Yep, but I’m just at the bottom of the switchbacks. I’ll come back to the trailhead.”
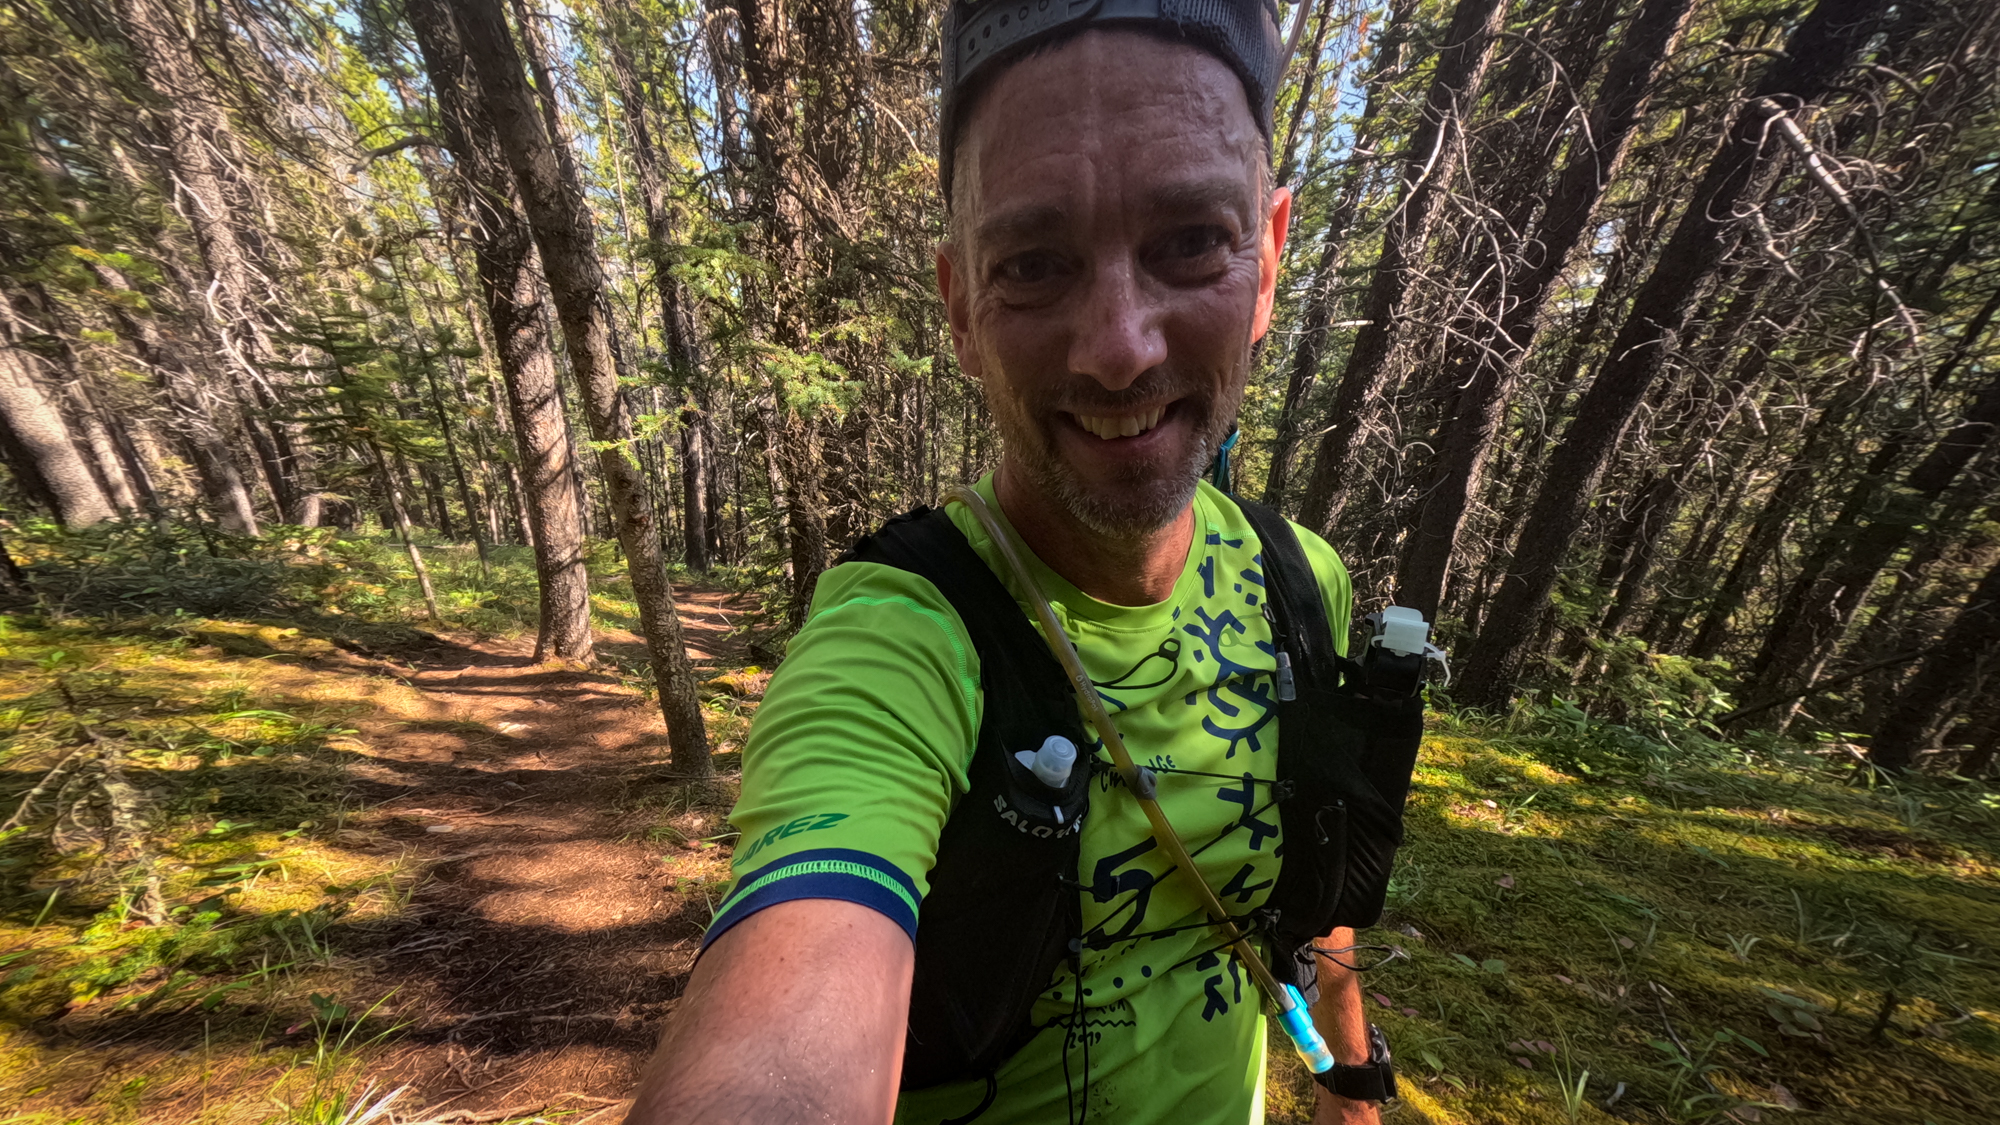
I had no idea what I was getting into. I thought we were going for a casual run but I heard hints of an adventure in her voice when she said she would meet me at the trailhead. Fortunately, I was smart enough to load up a pack with a bladder and fuel. That was a year ago. Michelle and I have done the trail many times since. Today’s prescribed workout was 2 hour trail time. I knew Grassi was going to be a little more than that but honestly I was excited to document the Grassi Knob Loop for all of you. I grabbed my GoPro and packed up my Soloman Adv Skin 12 and off I went.
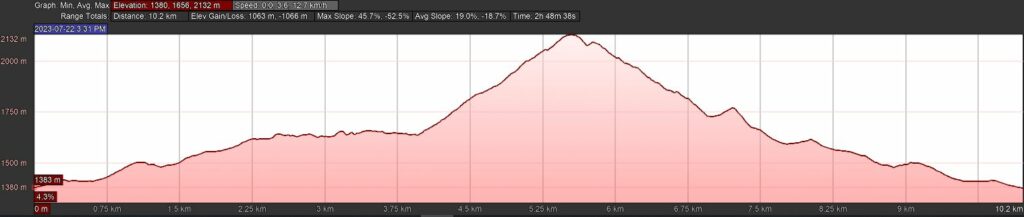
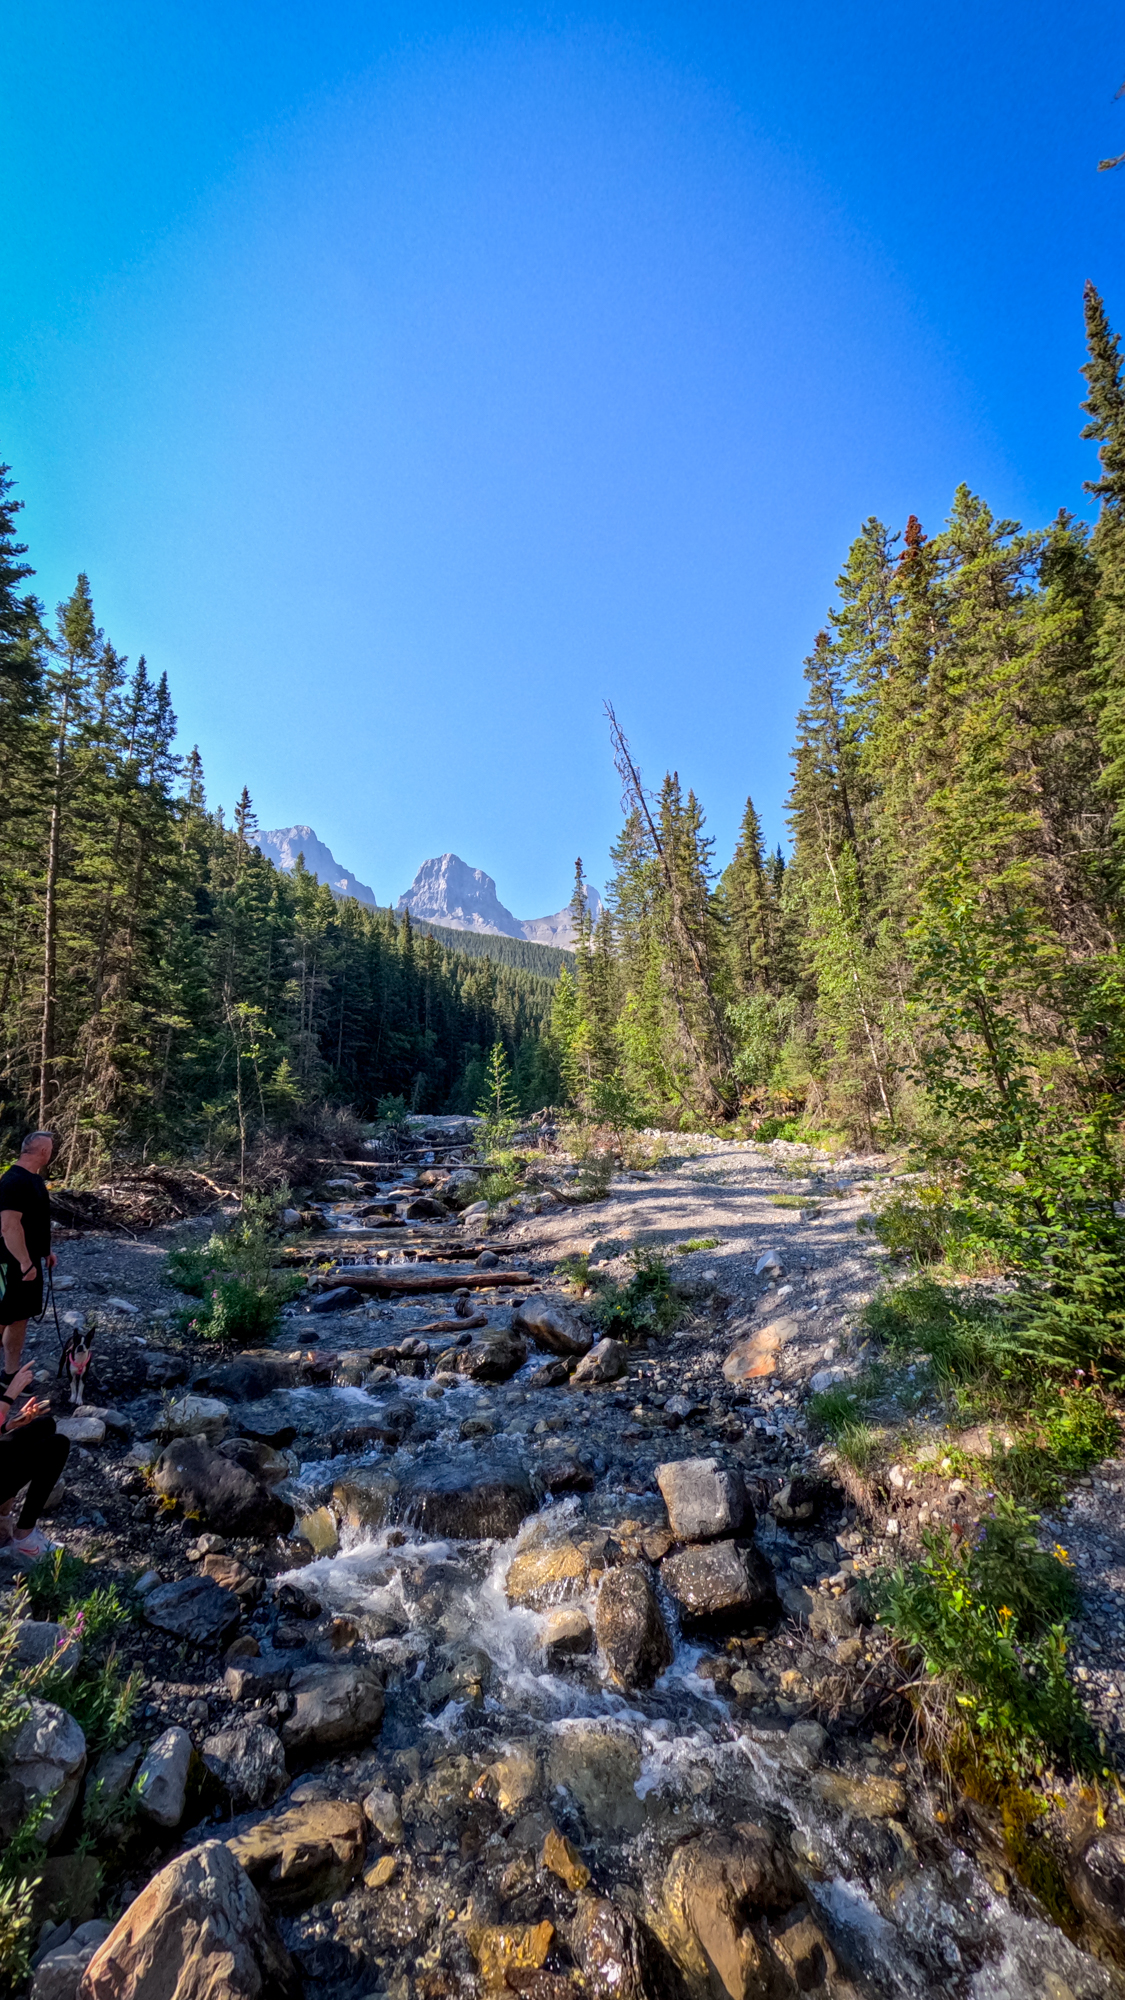
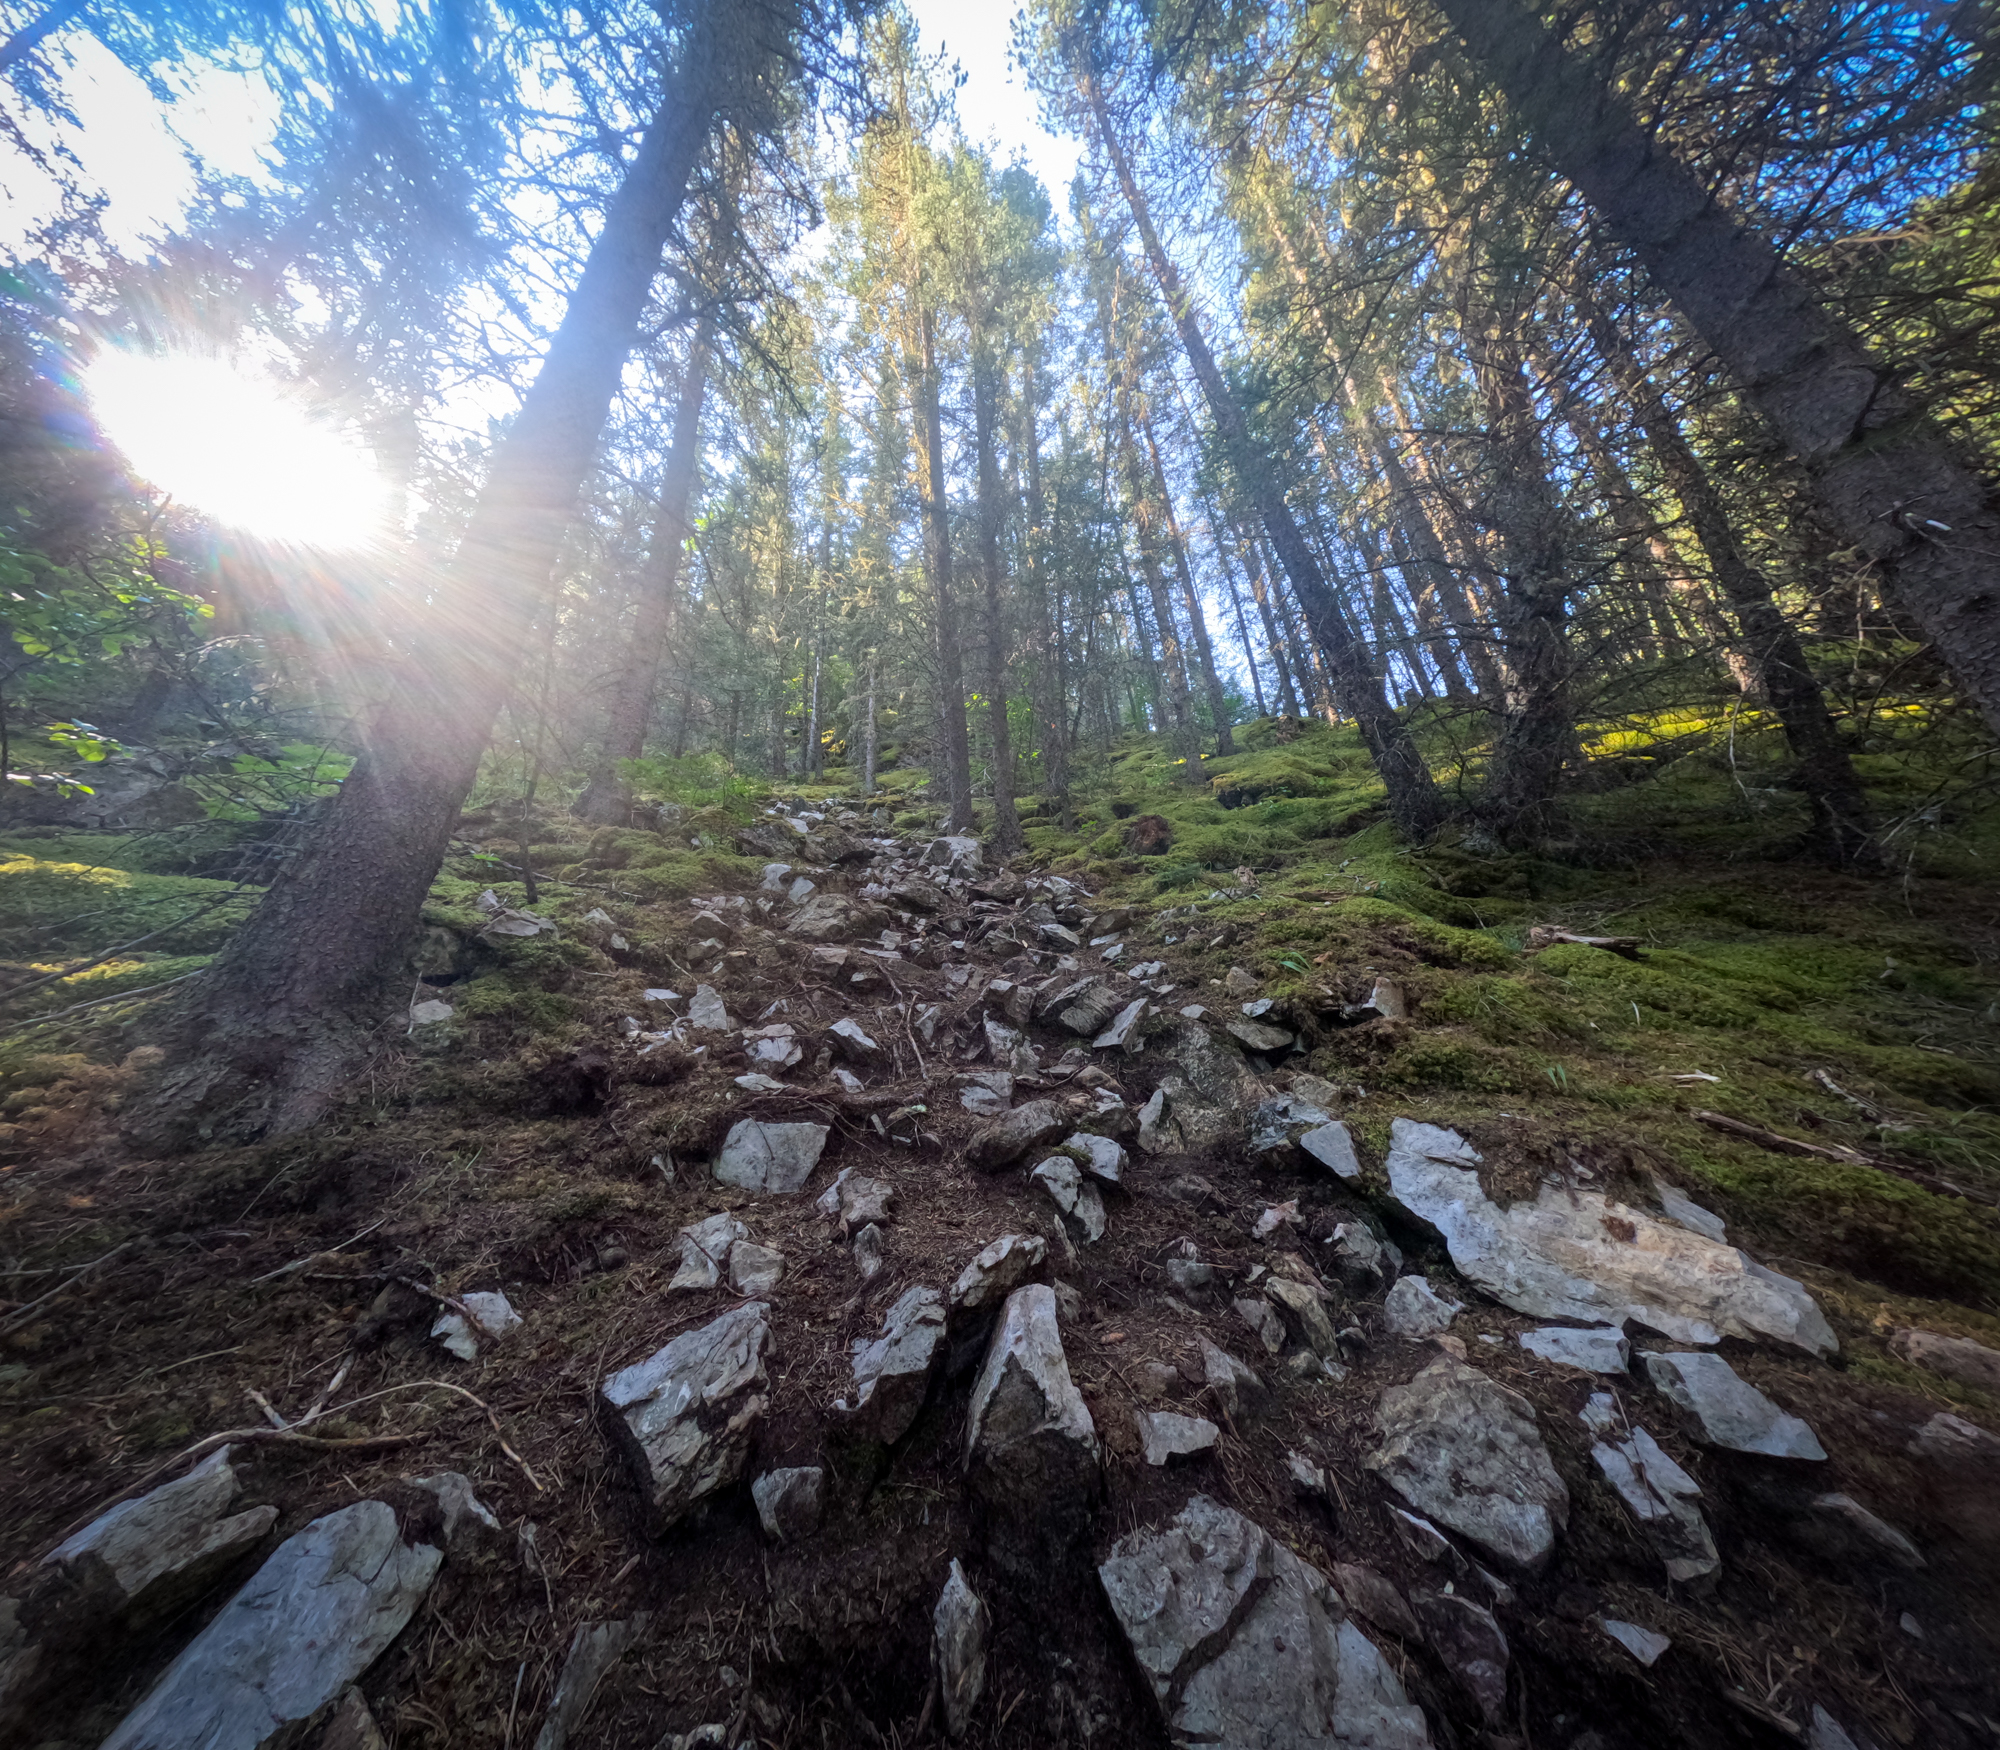
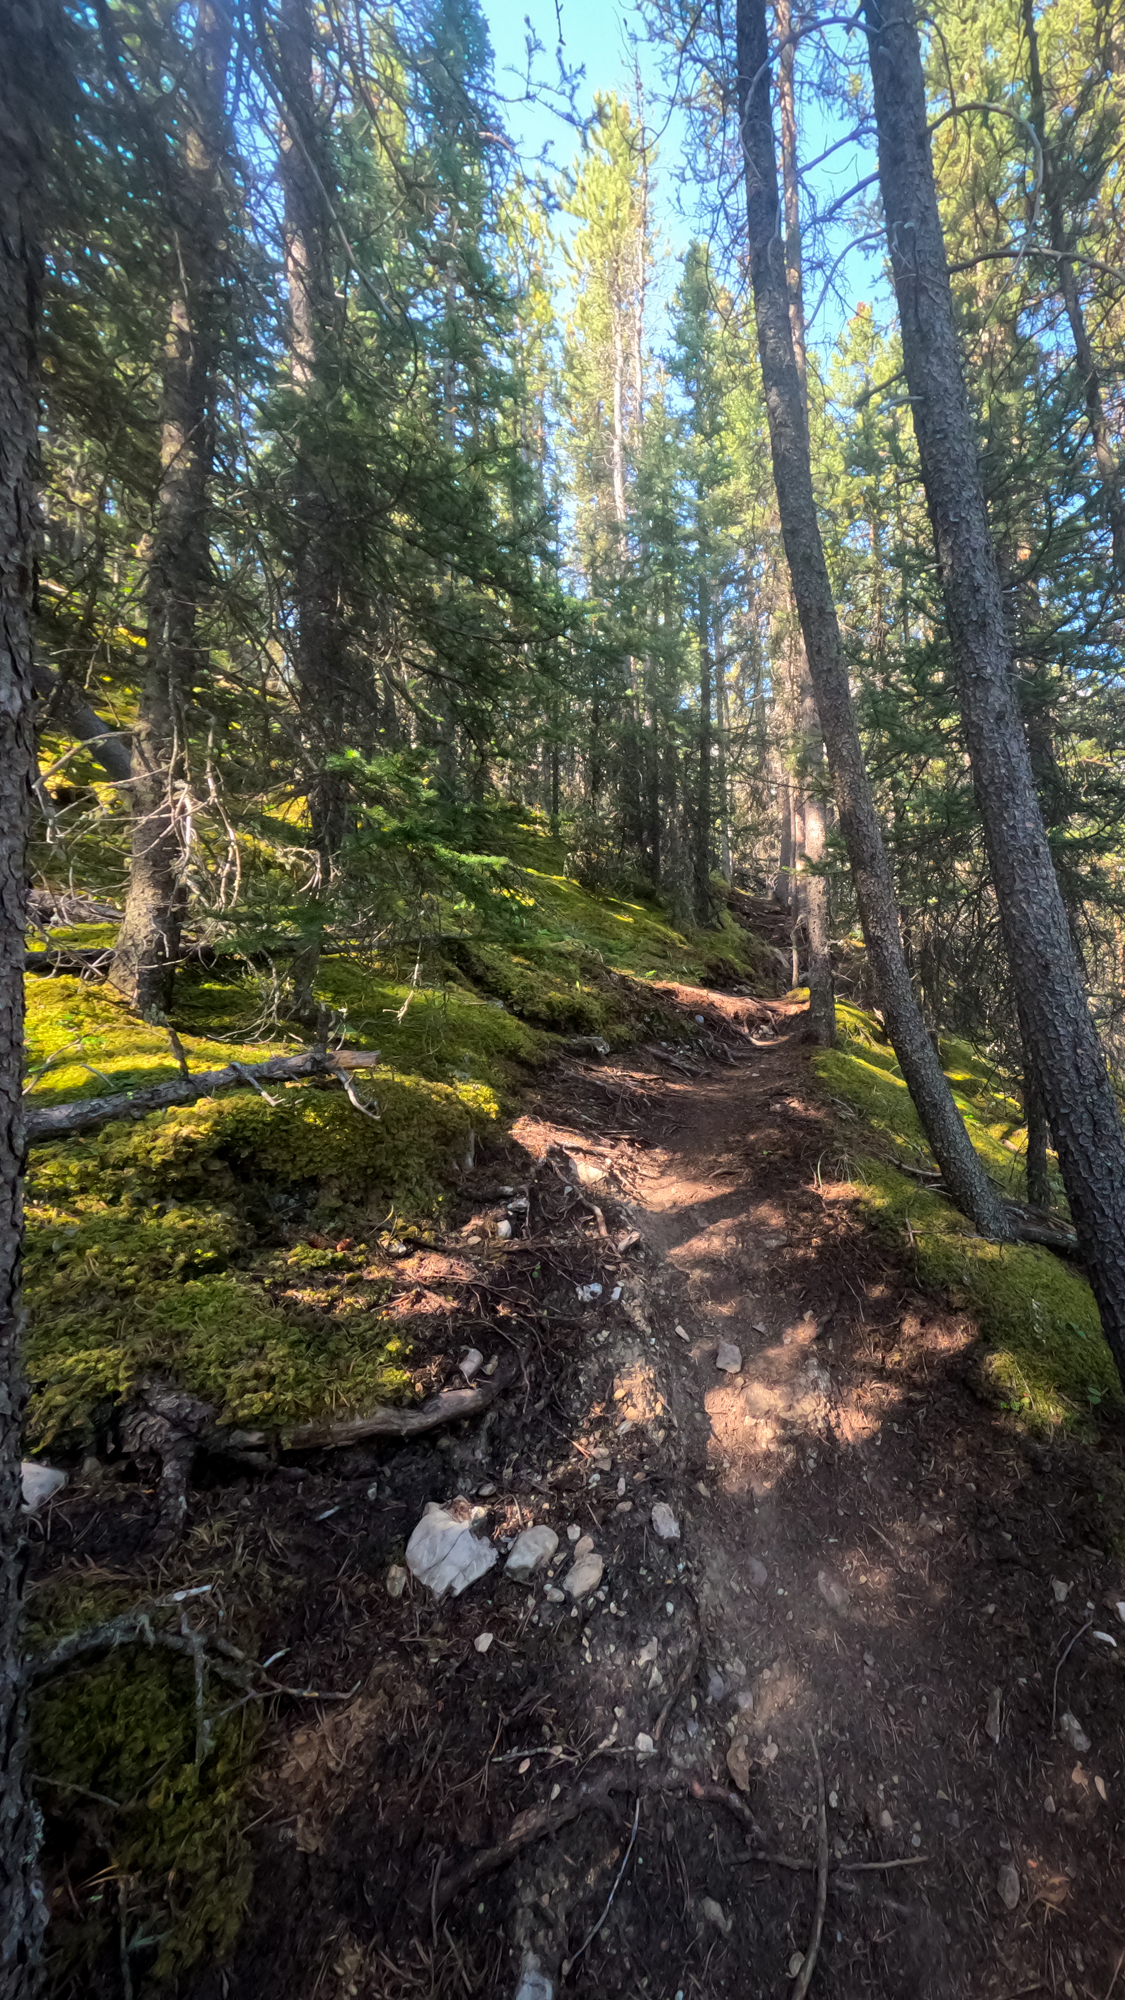
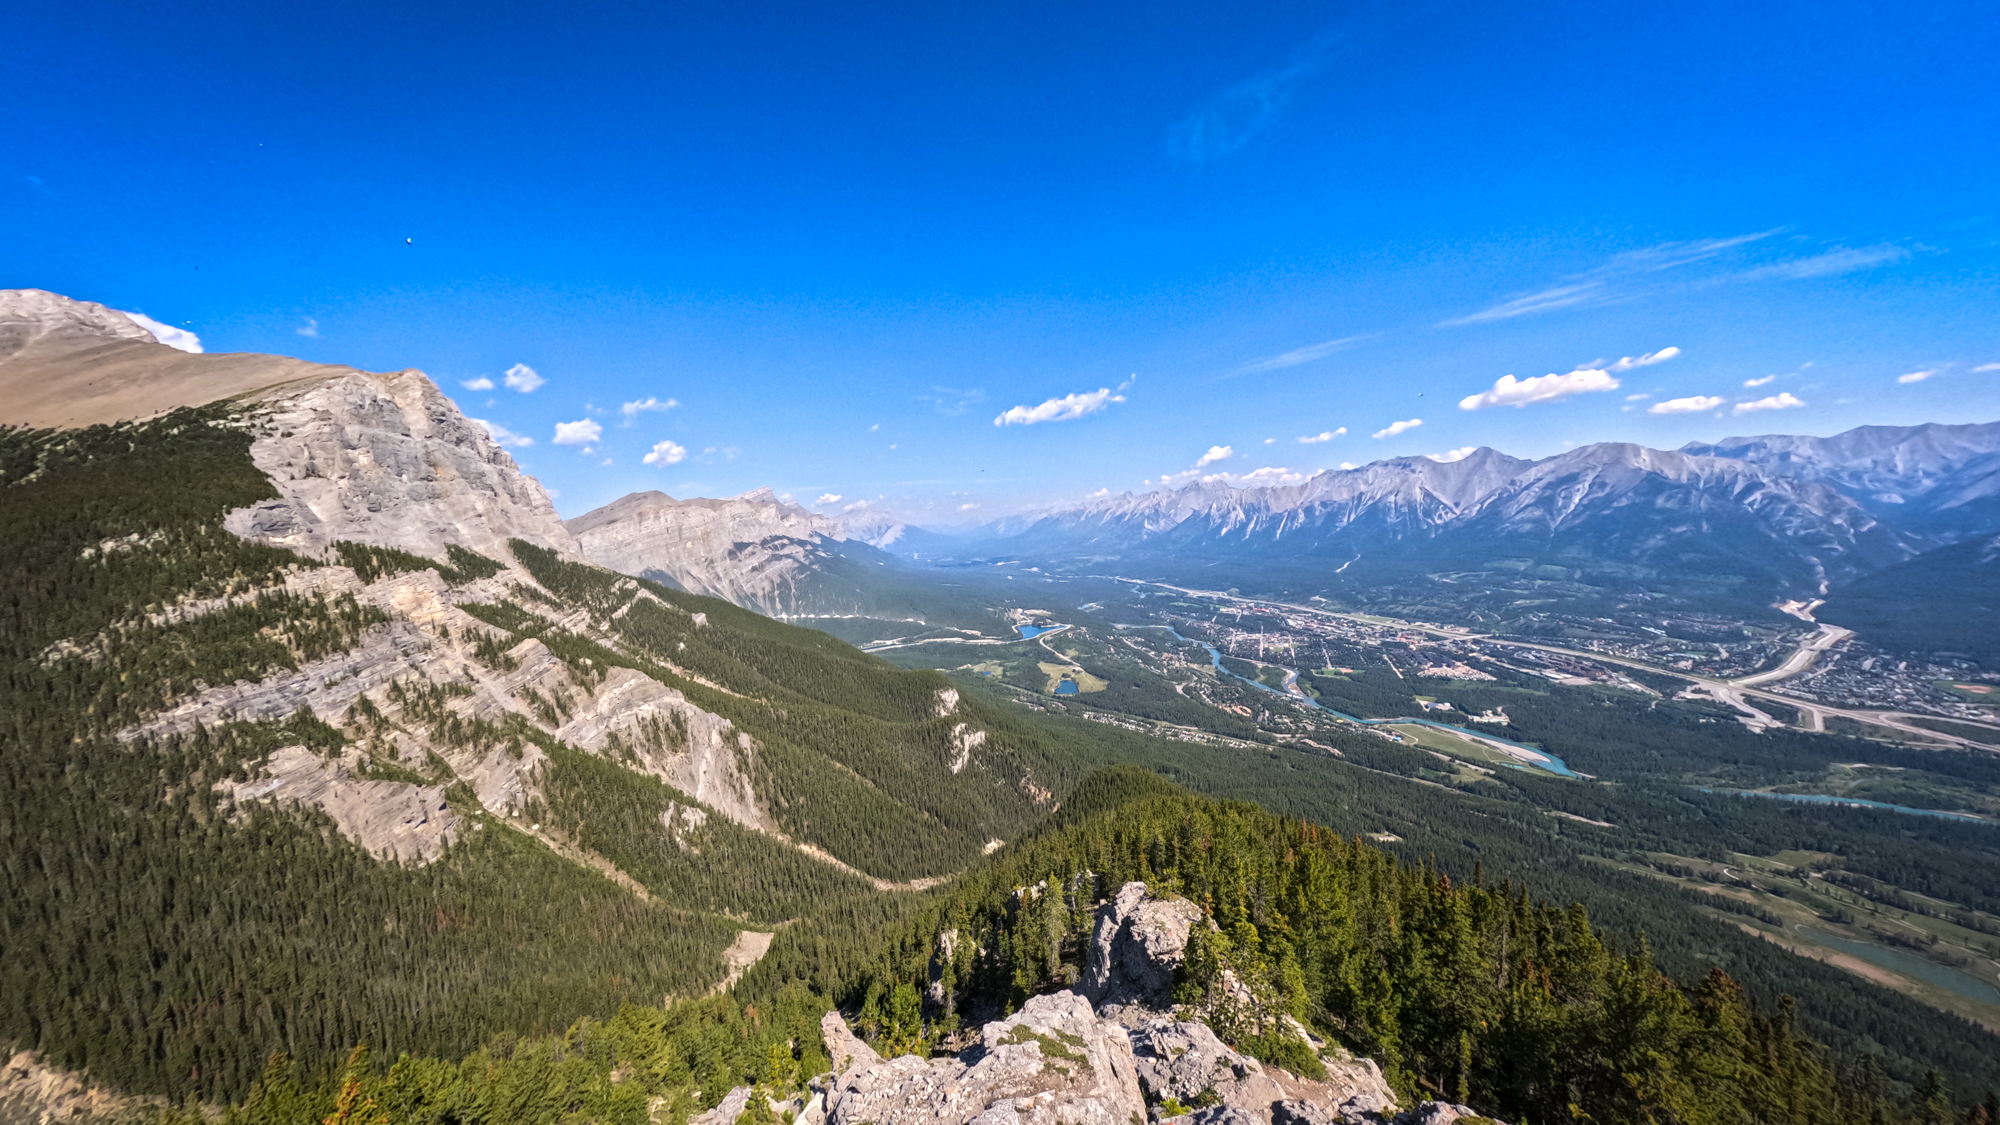
I would be running alone today as Michelle is not in town. From the trailhead you head up Highline with a gradual incline for about 1.25km until you cross a creek. A few hundred meters down the trail you take a hard left and follow the switchbacks up for about another 1km. This is where you hit the loop section and you can go either way. I went right today which would take me out Highline until I hit just shy of the 4km mark. There you will see a bridge where you need to take a hard left up the steep path before you cross the bridge. Grassi Knob Summit is straight up from there. Honestly it is more of a scramble than a run.
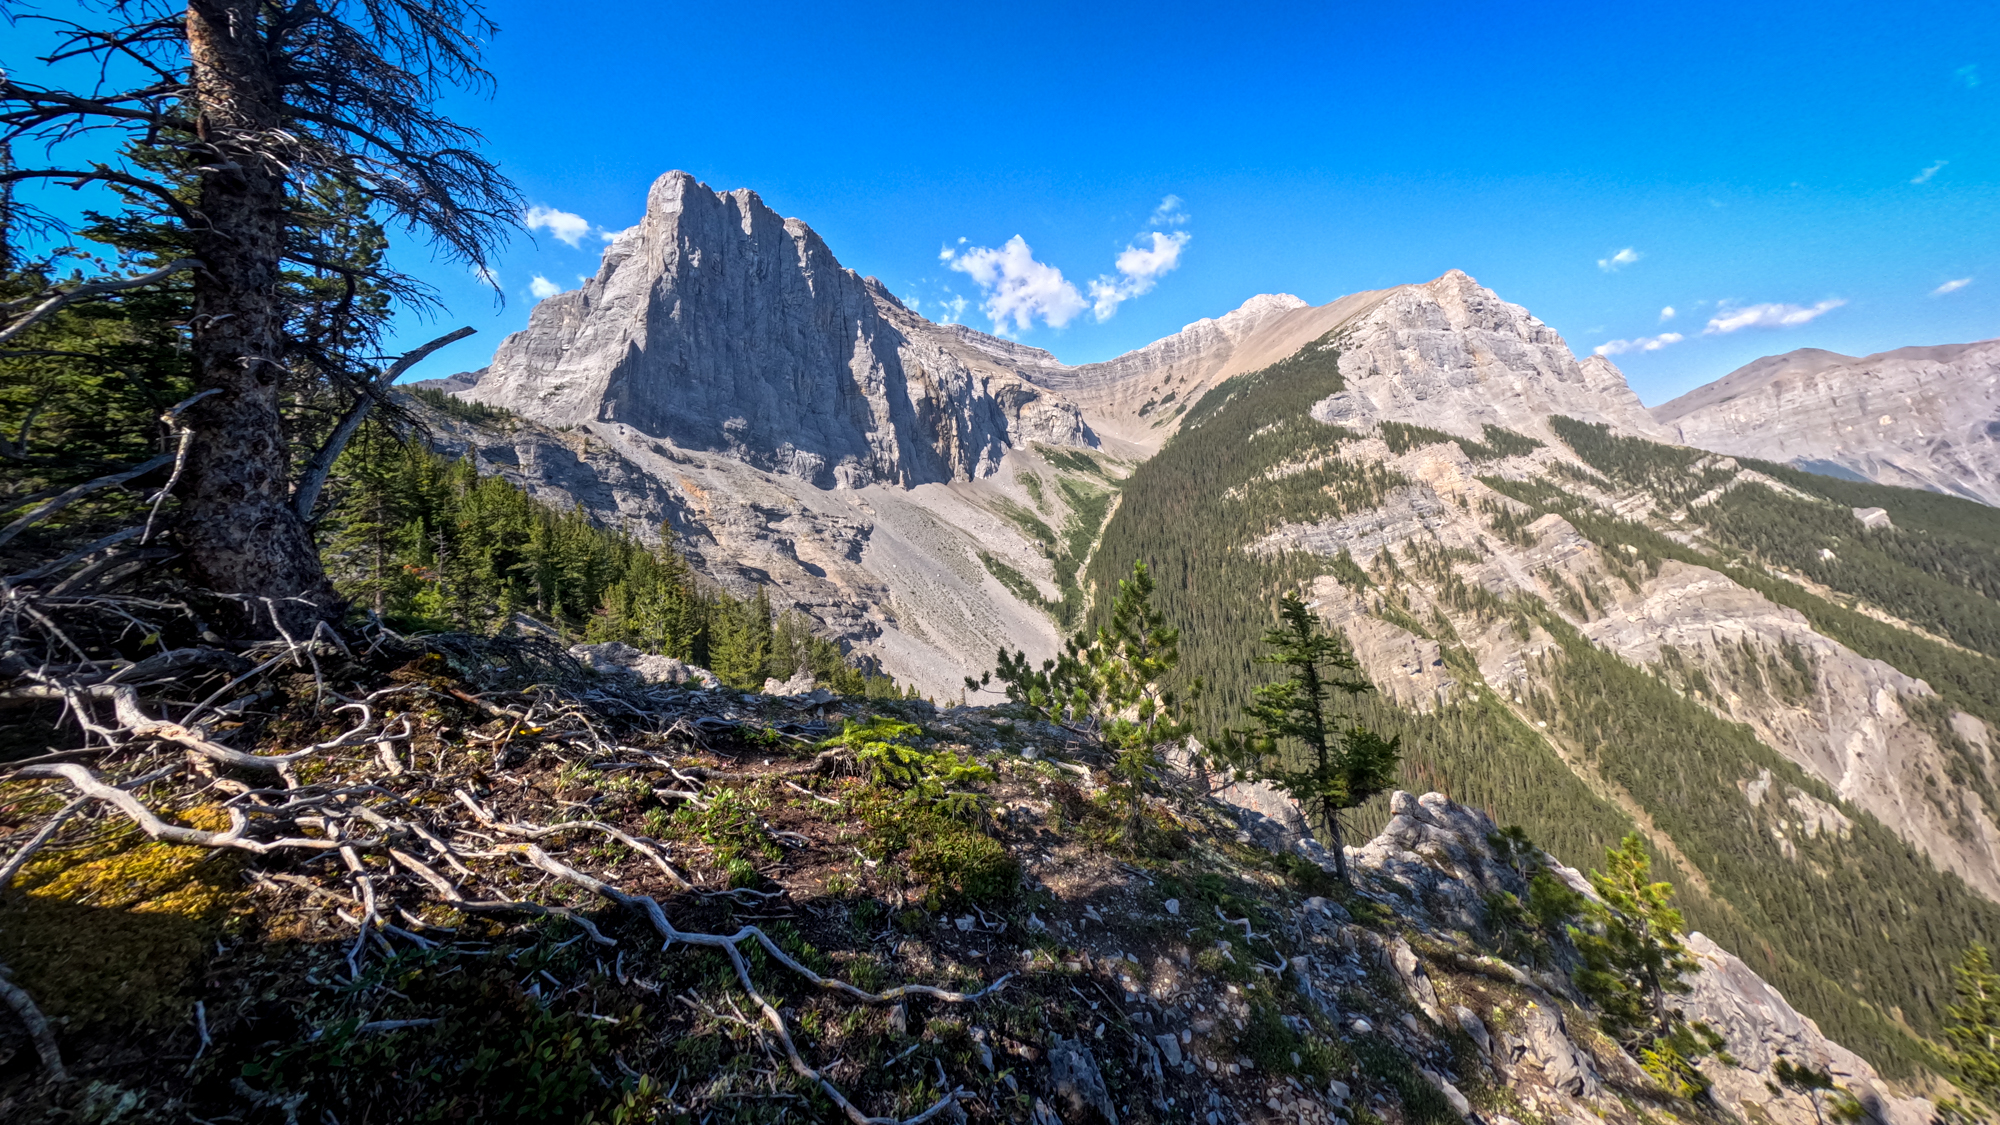
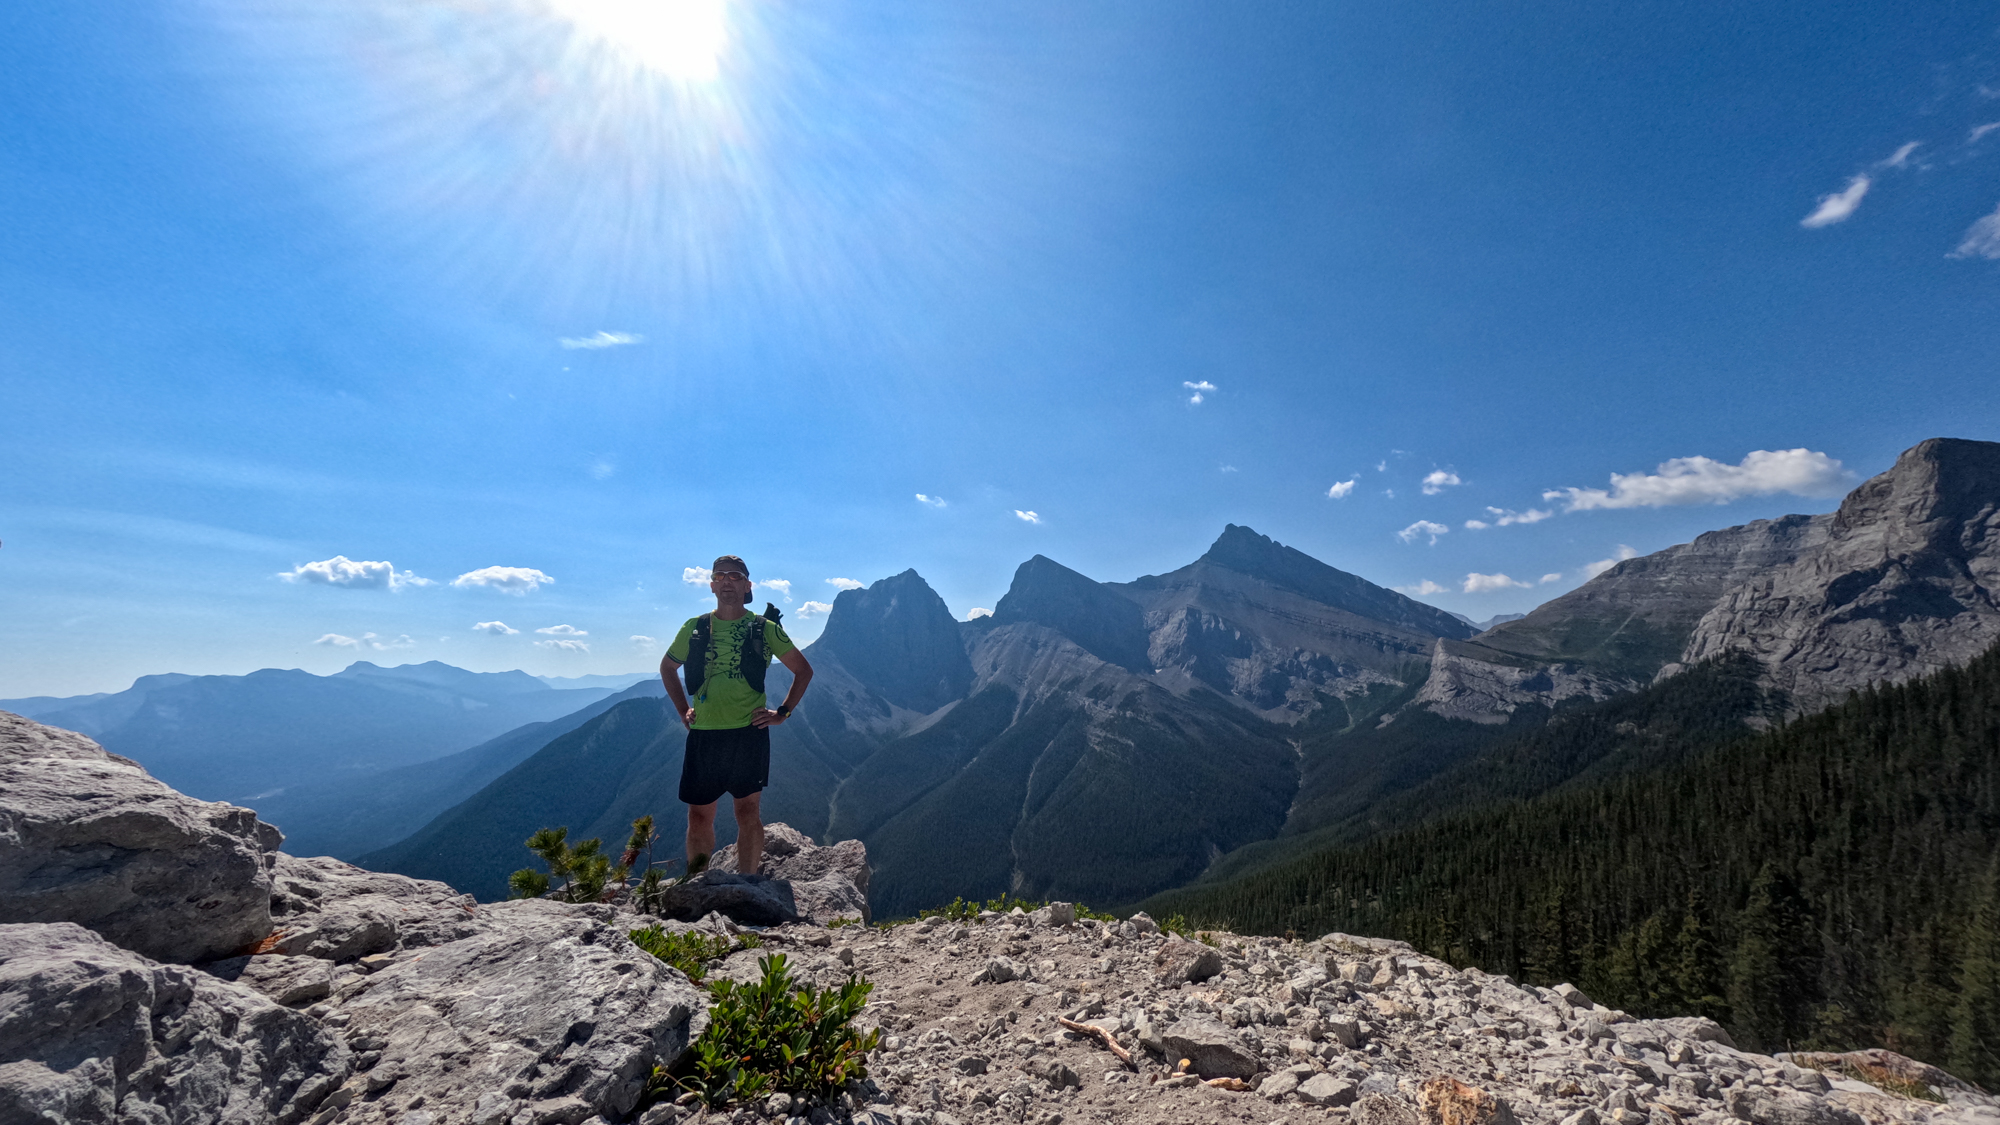
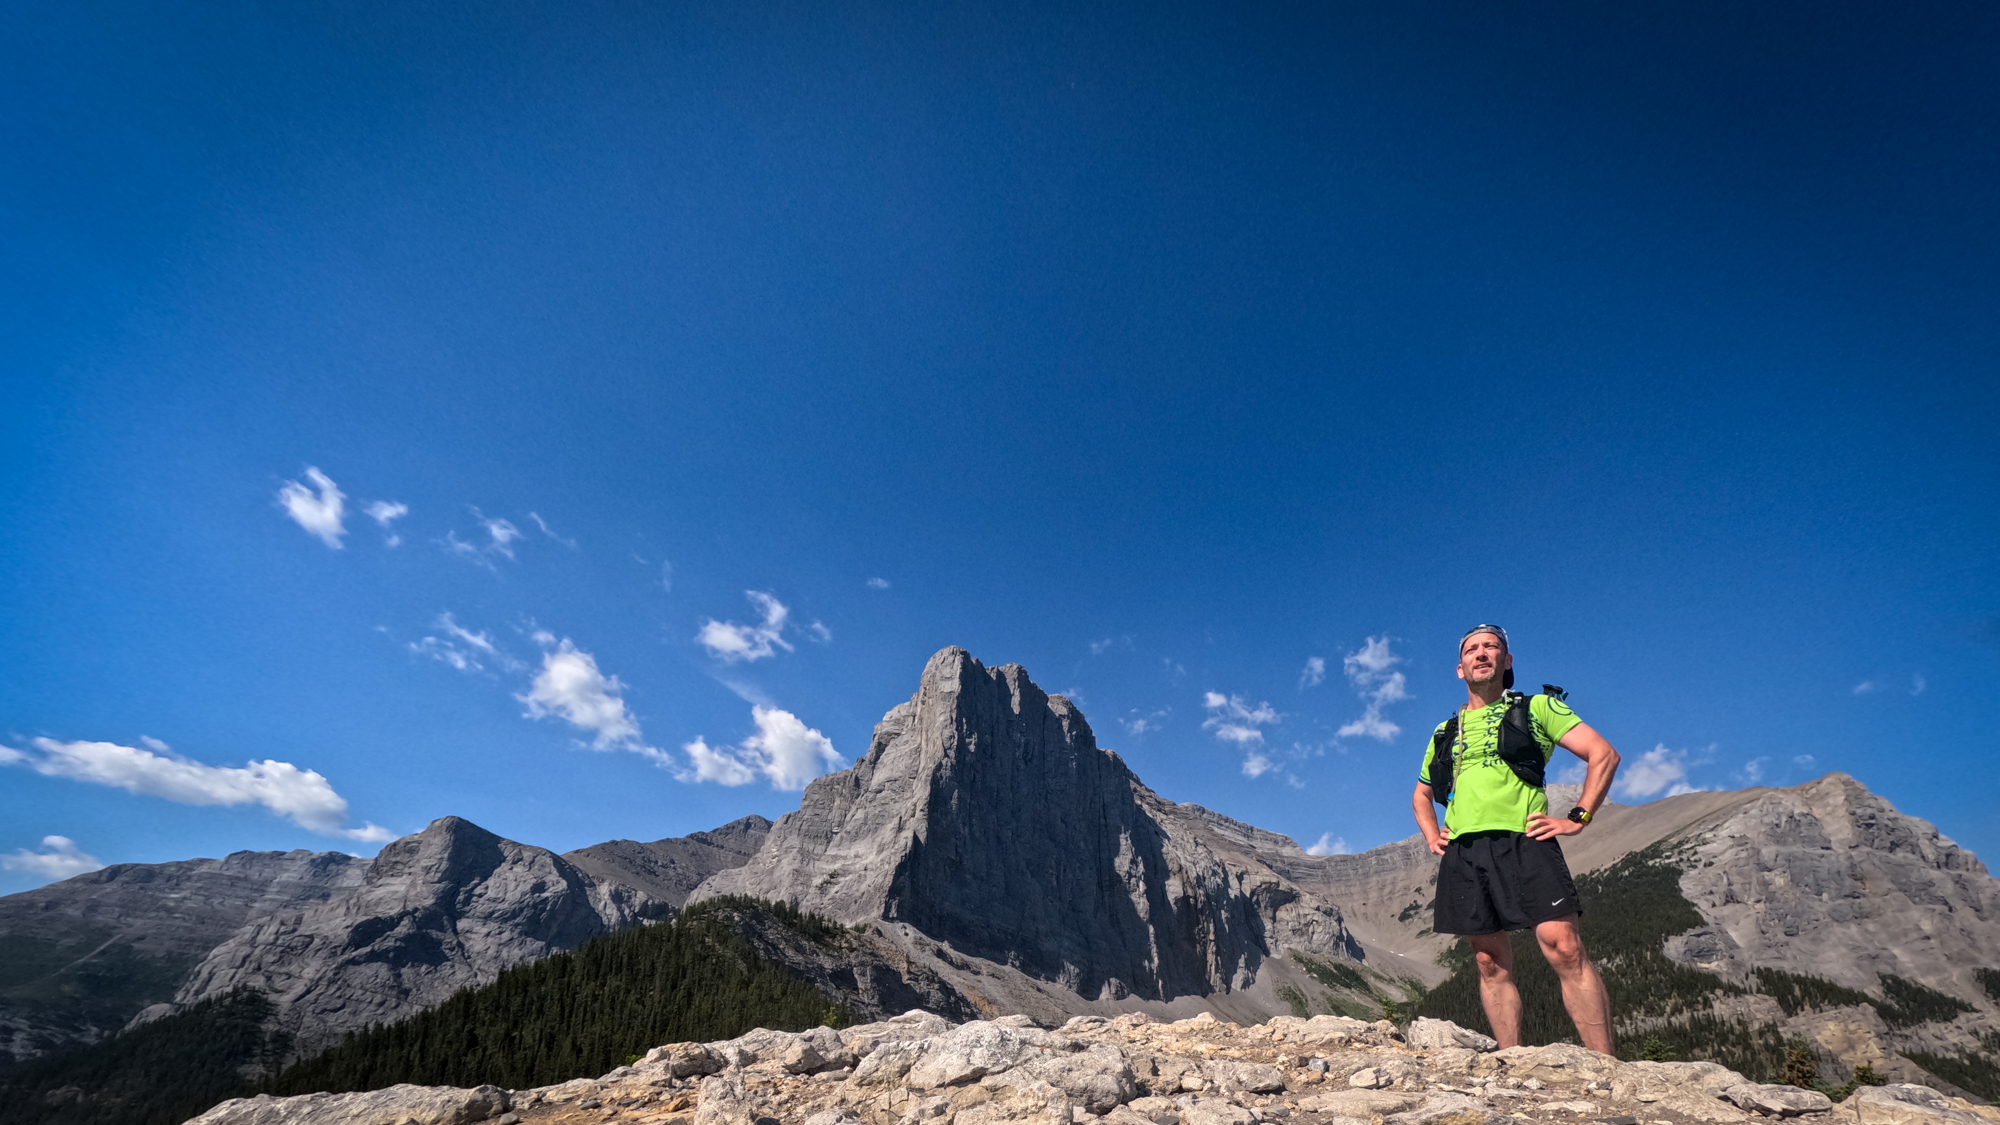
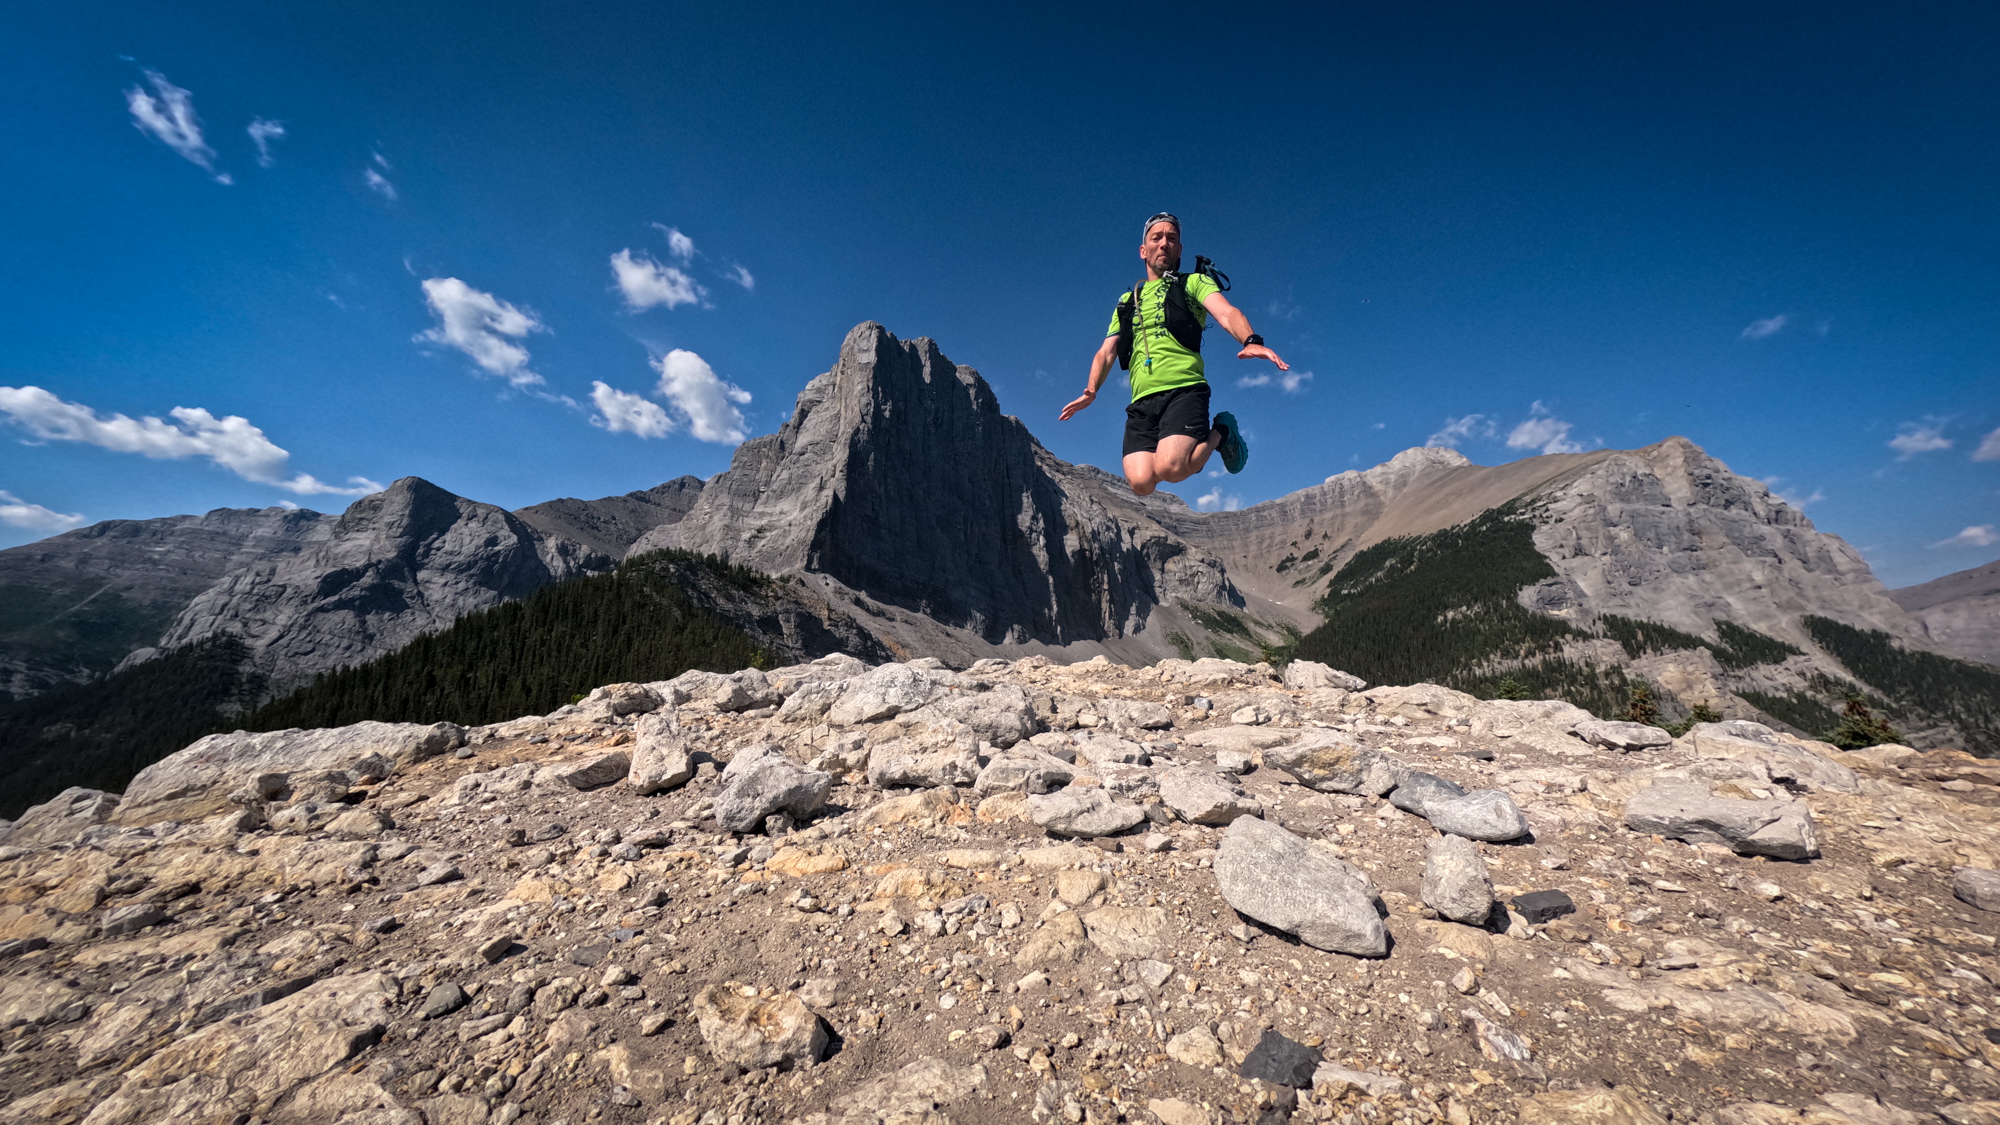
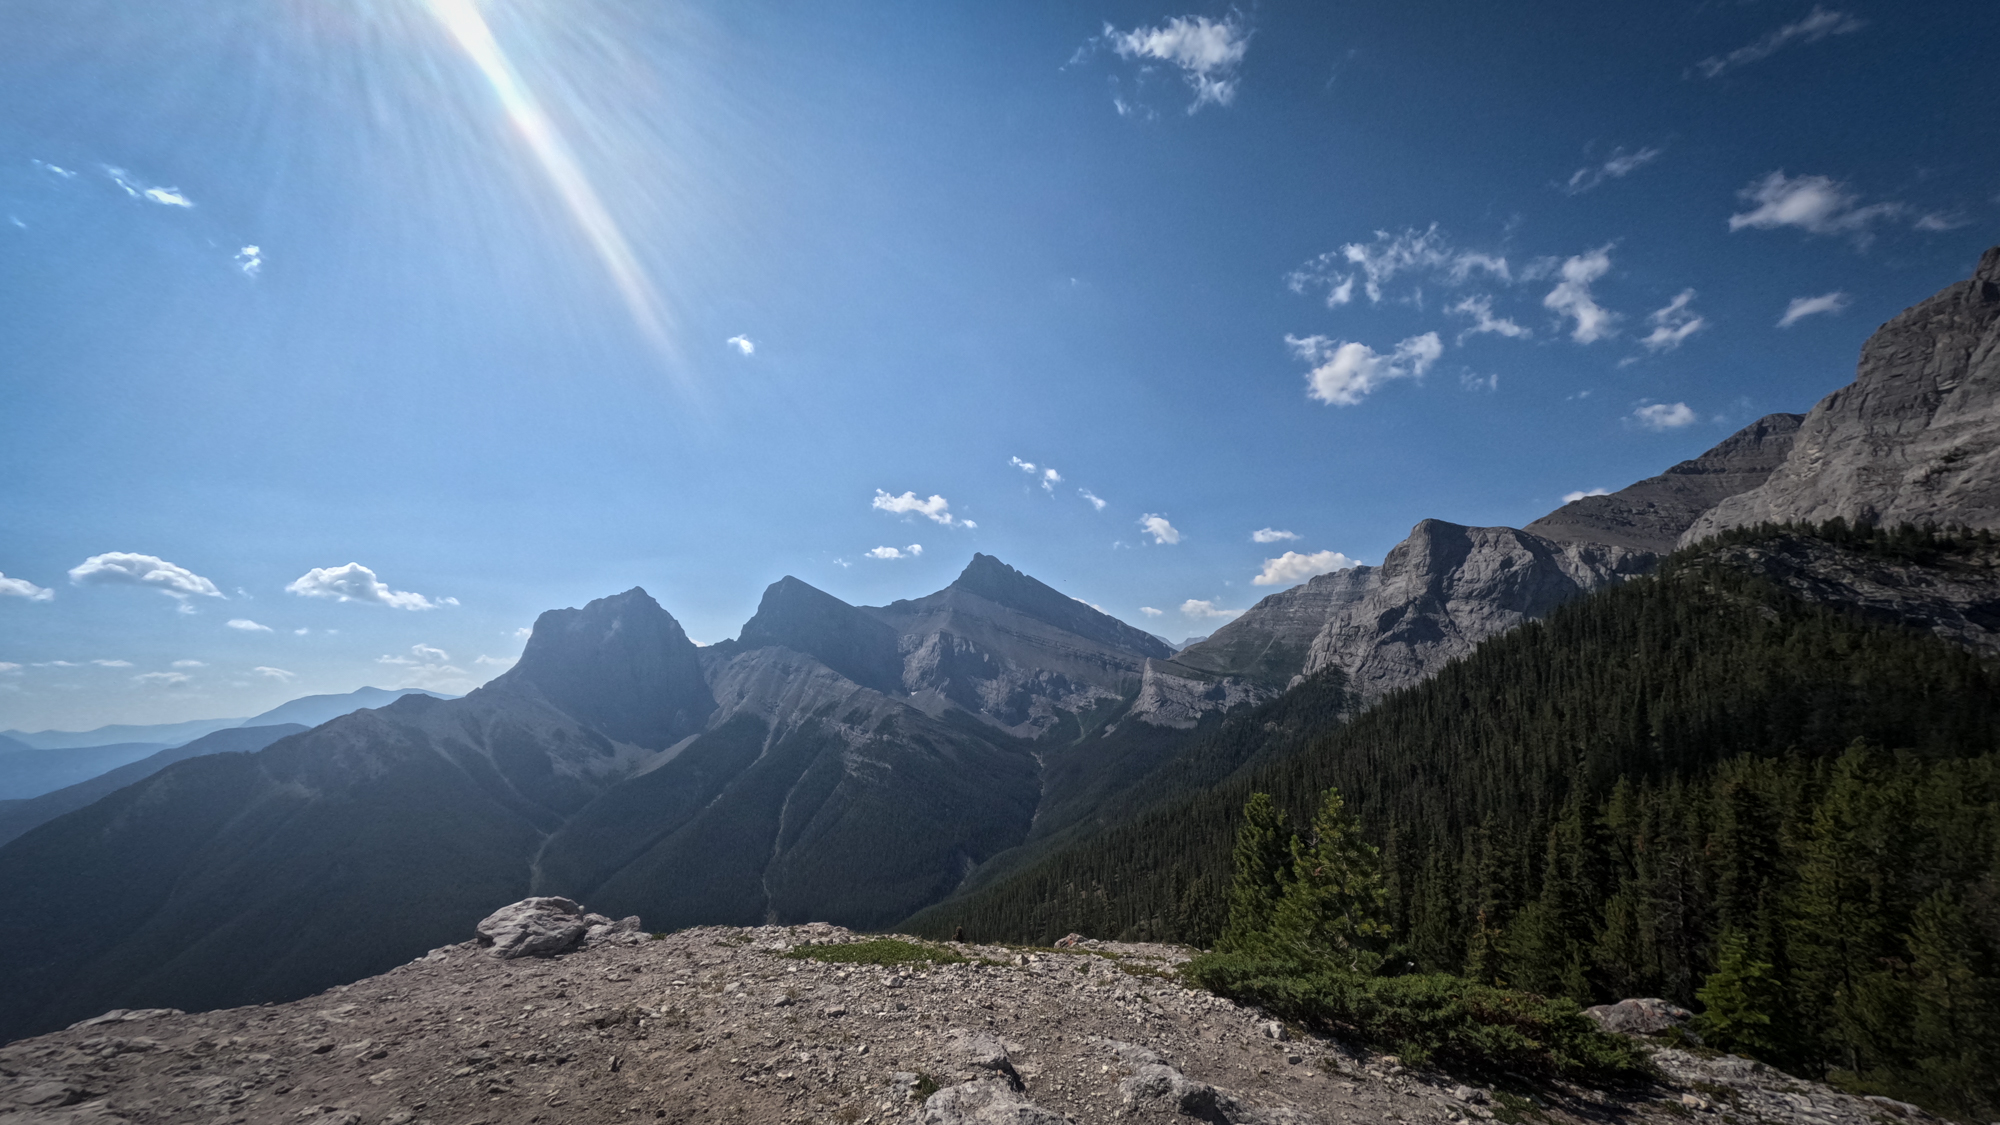
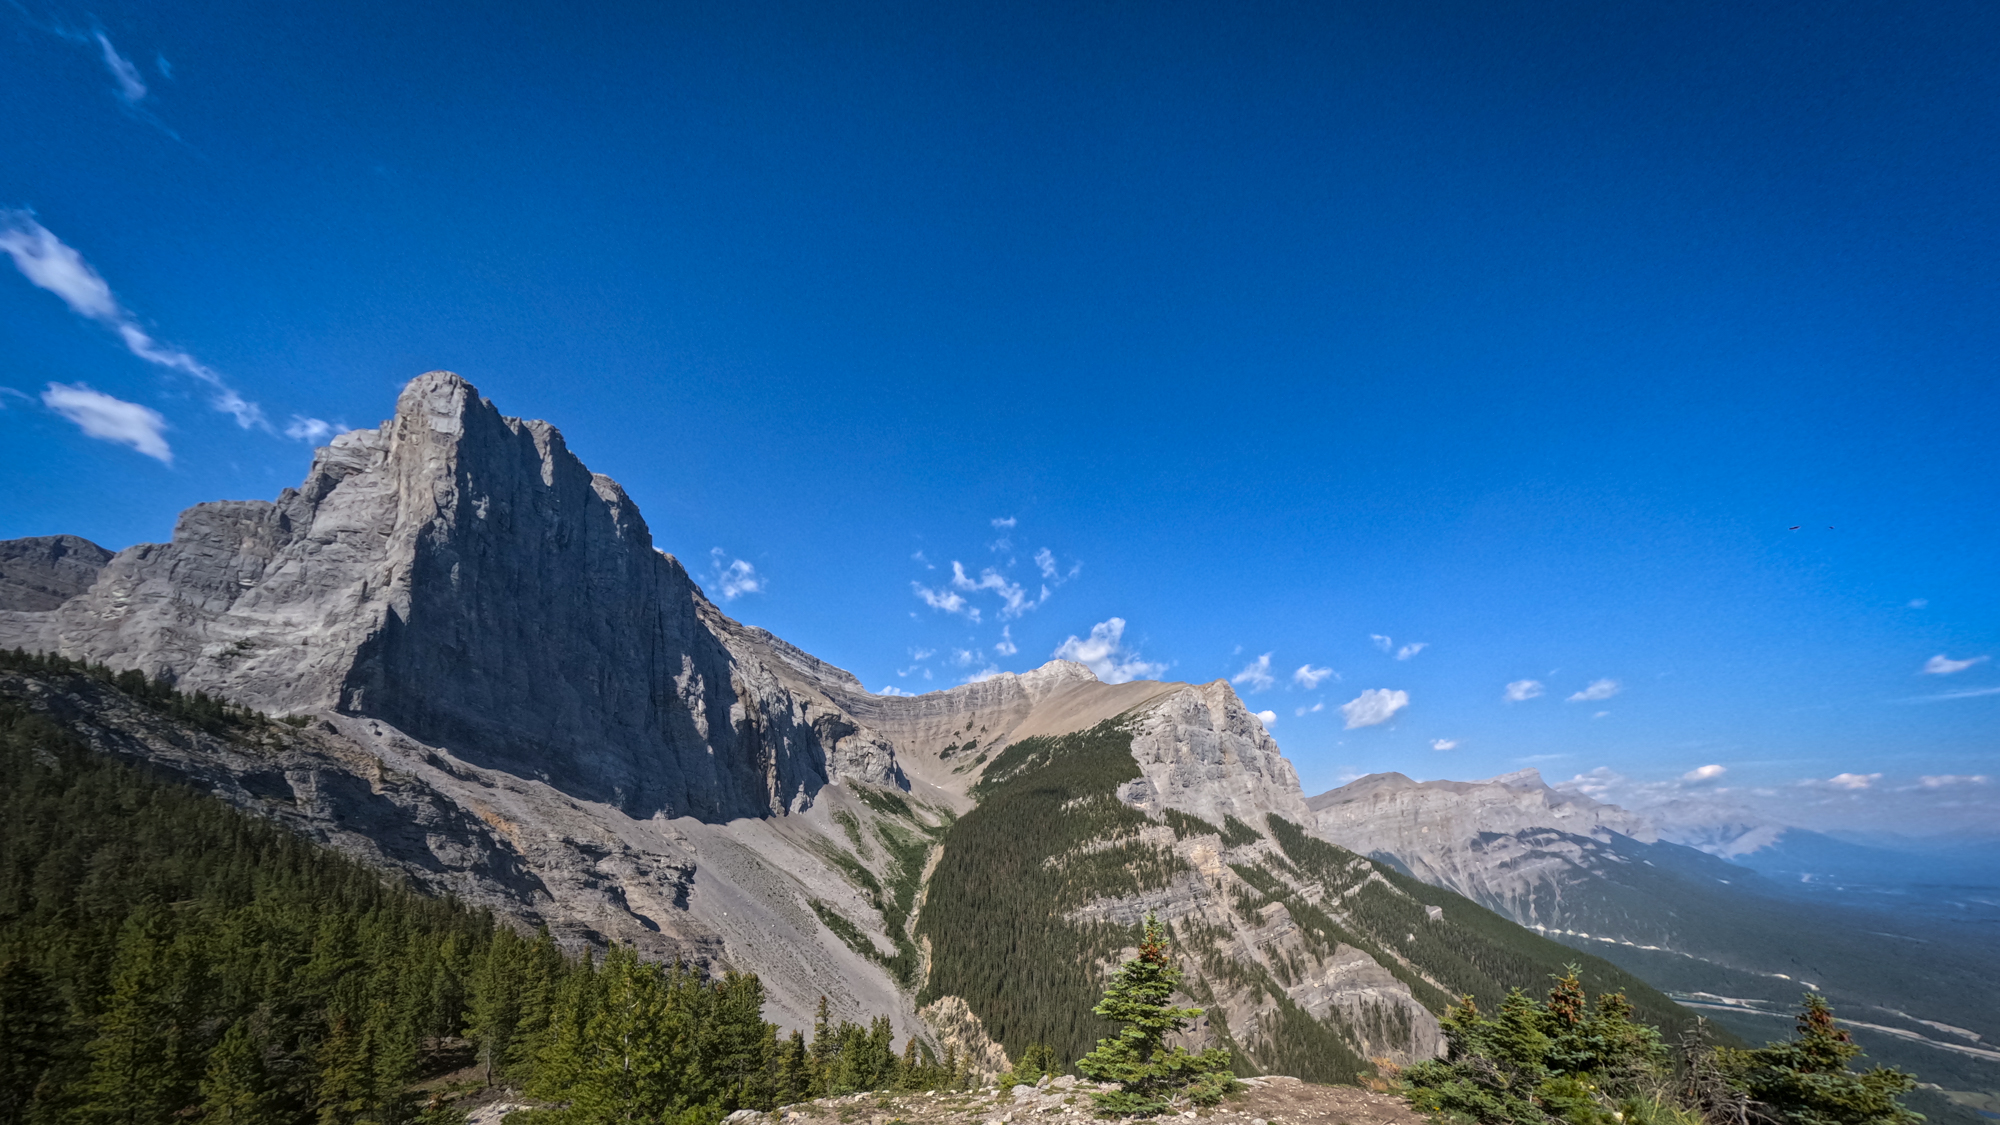
It was about 5.5km total to the summit. The views are spectacular though the black flies were out in droves. I had a bite to eat and enjoyed the views for a few minutes. Eventually I got moving again and headed down the otherside. It does not feel as steep on that side though the elevation profile suggests otherwise. It is about 2km of quad burning, toe nail destroying downhill before you get to the more runnable trail.
This one was a tough one but the payoff is well worth the effort.
Getting There
The trailhead is up in Three Sisters by Hubmans Landing. There is no parking lot, just street parking which can get busy. Please respect the residents as you choose where to park. Google Maps Directions Here.
Runnability
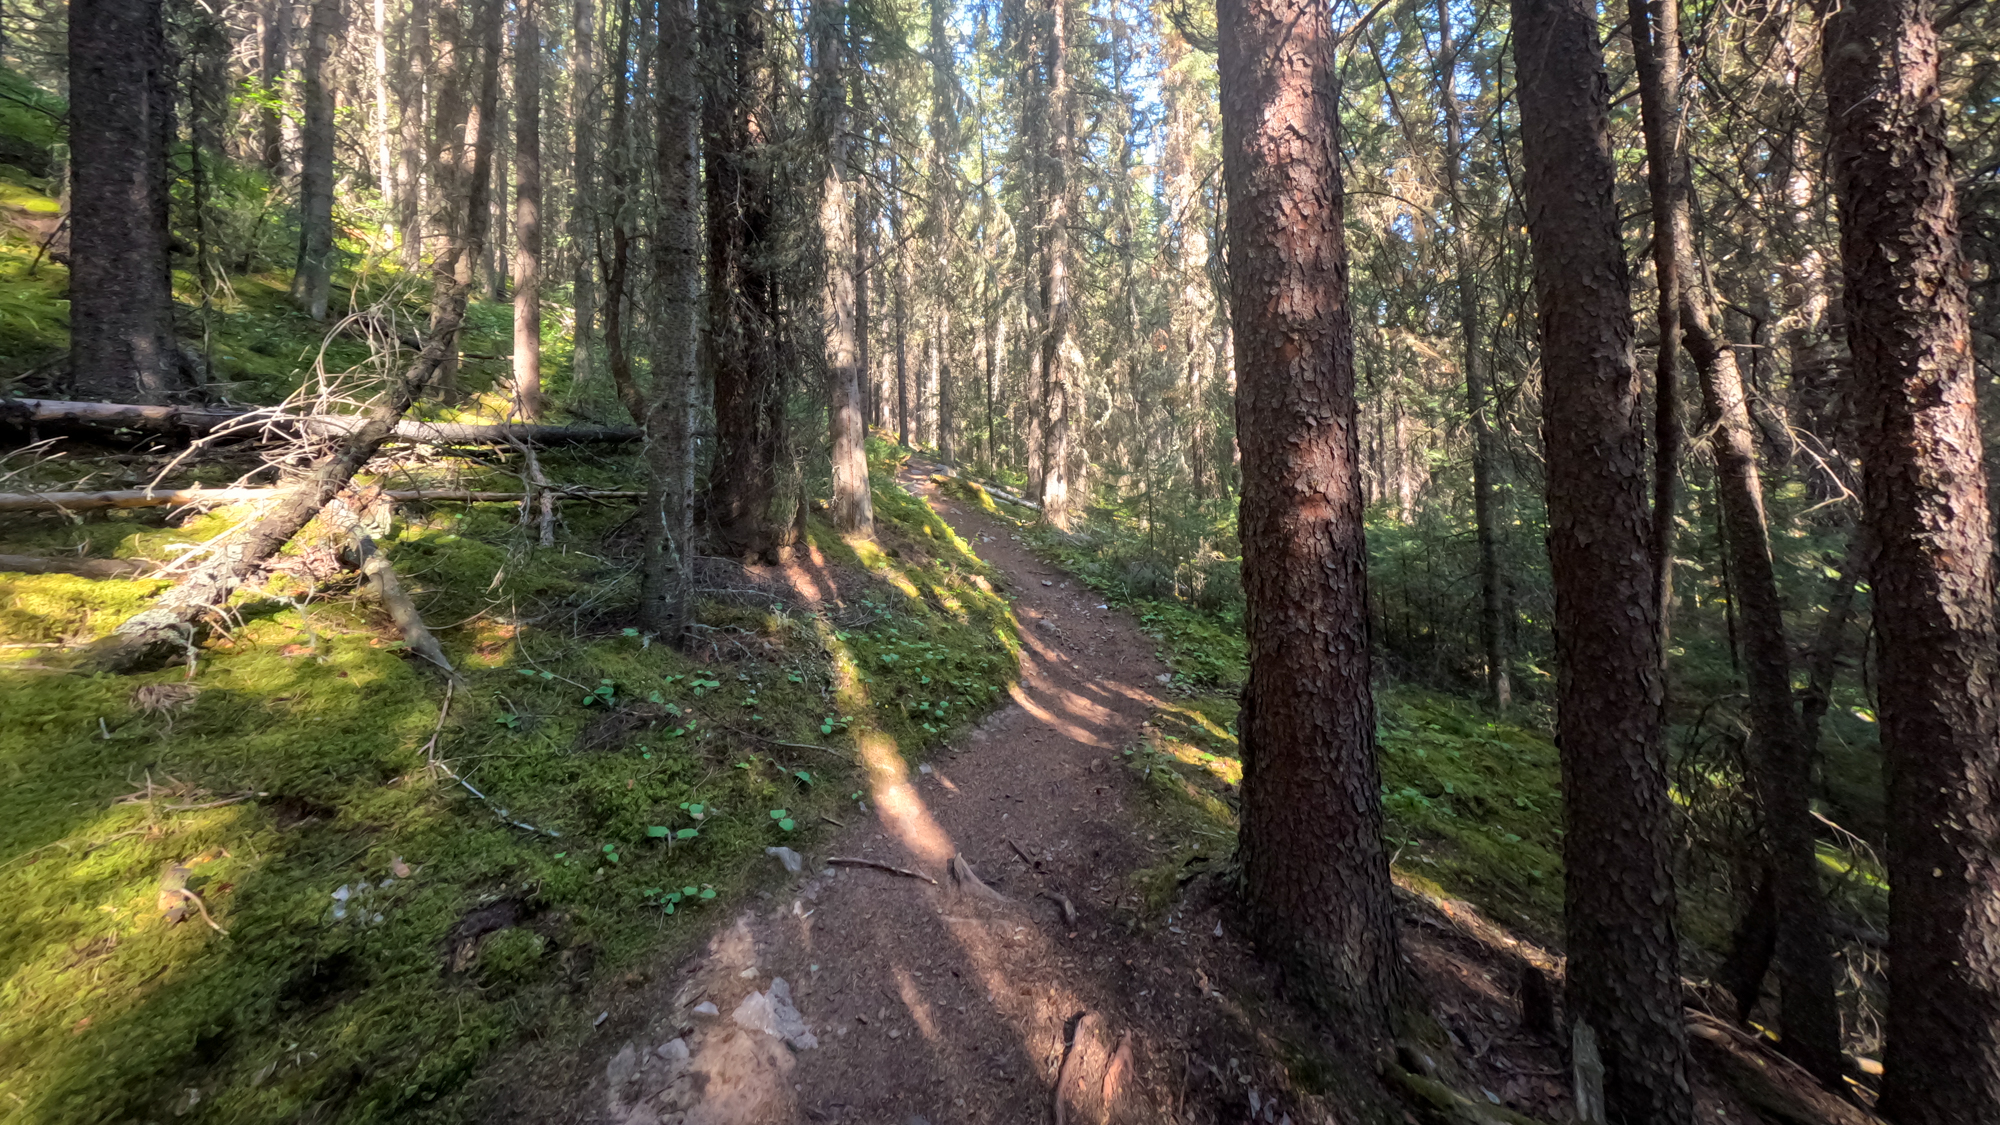
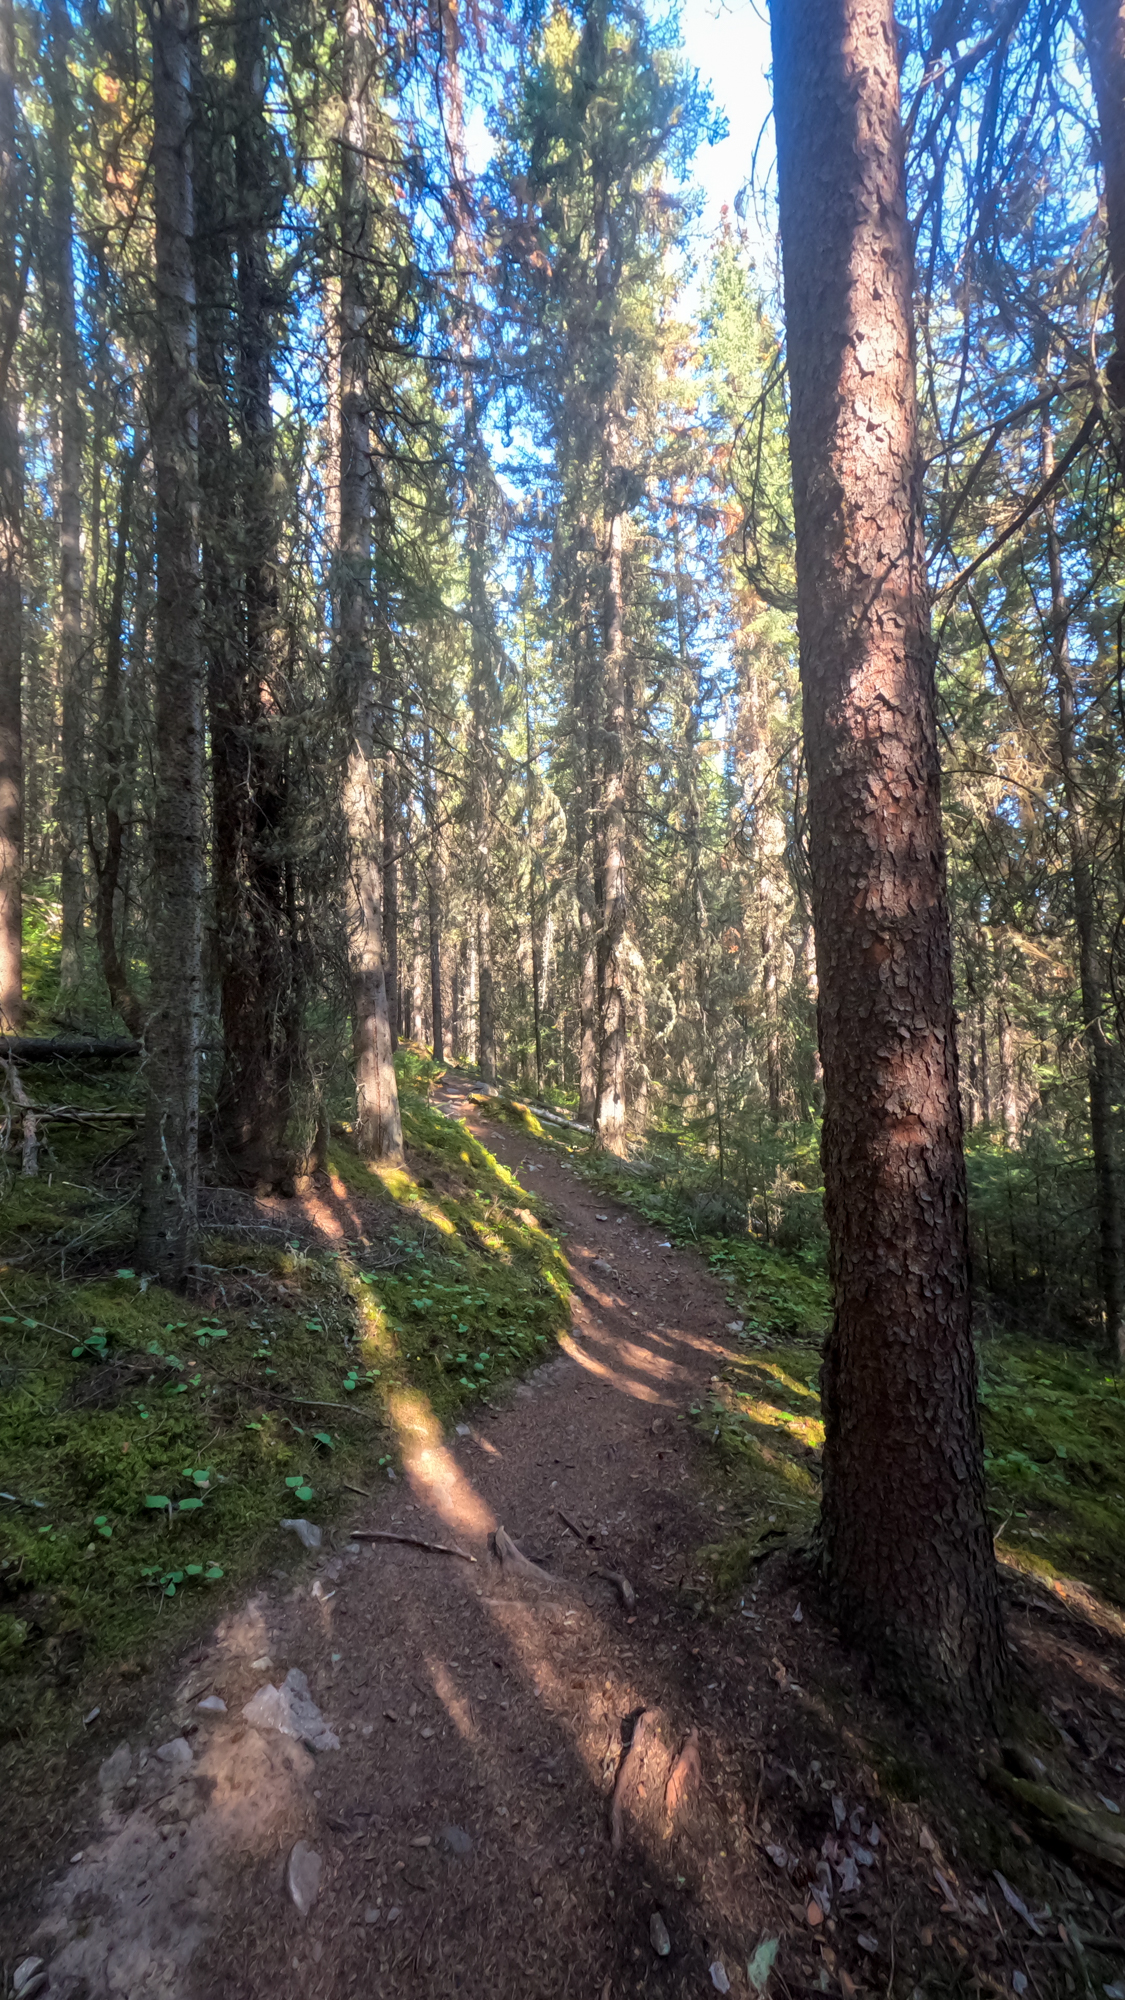
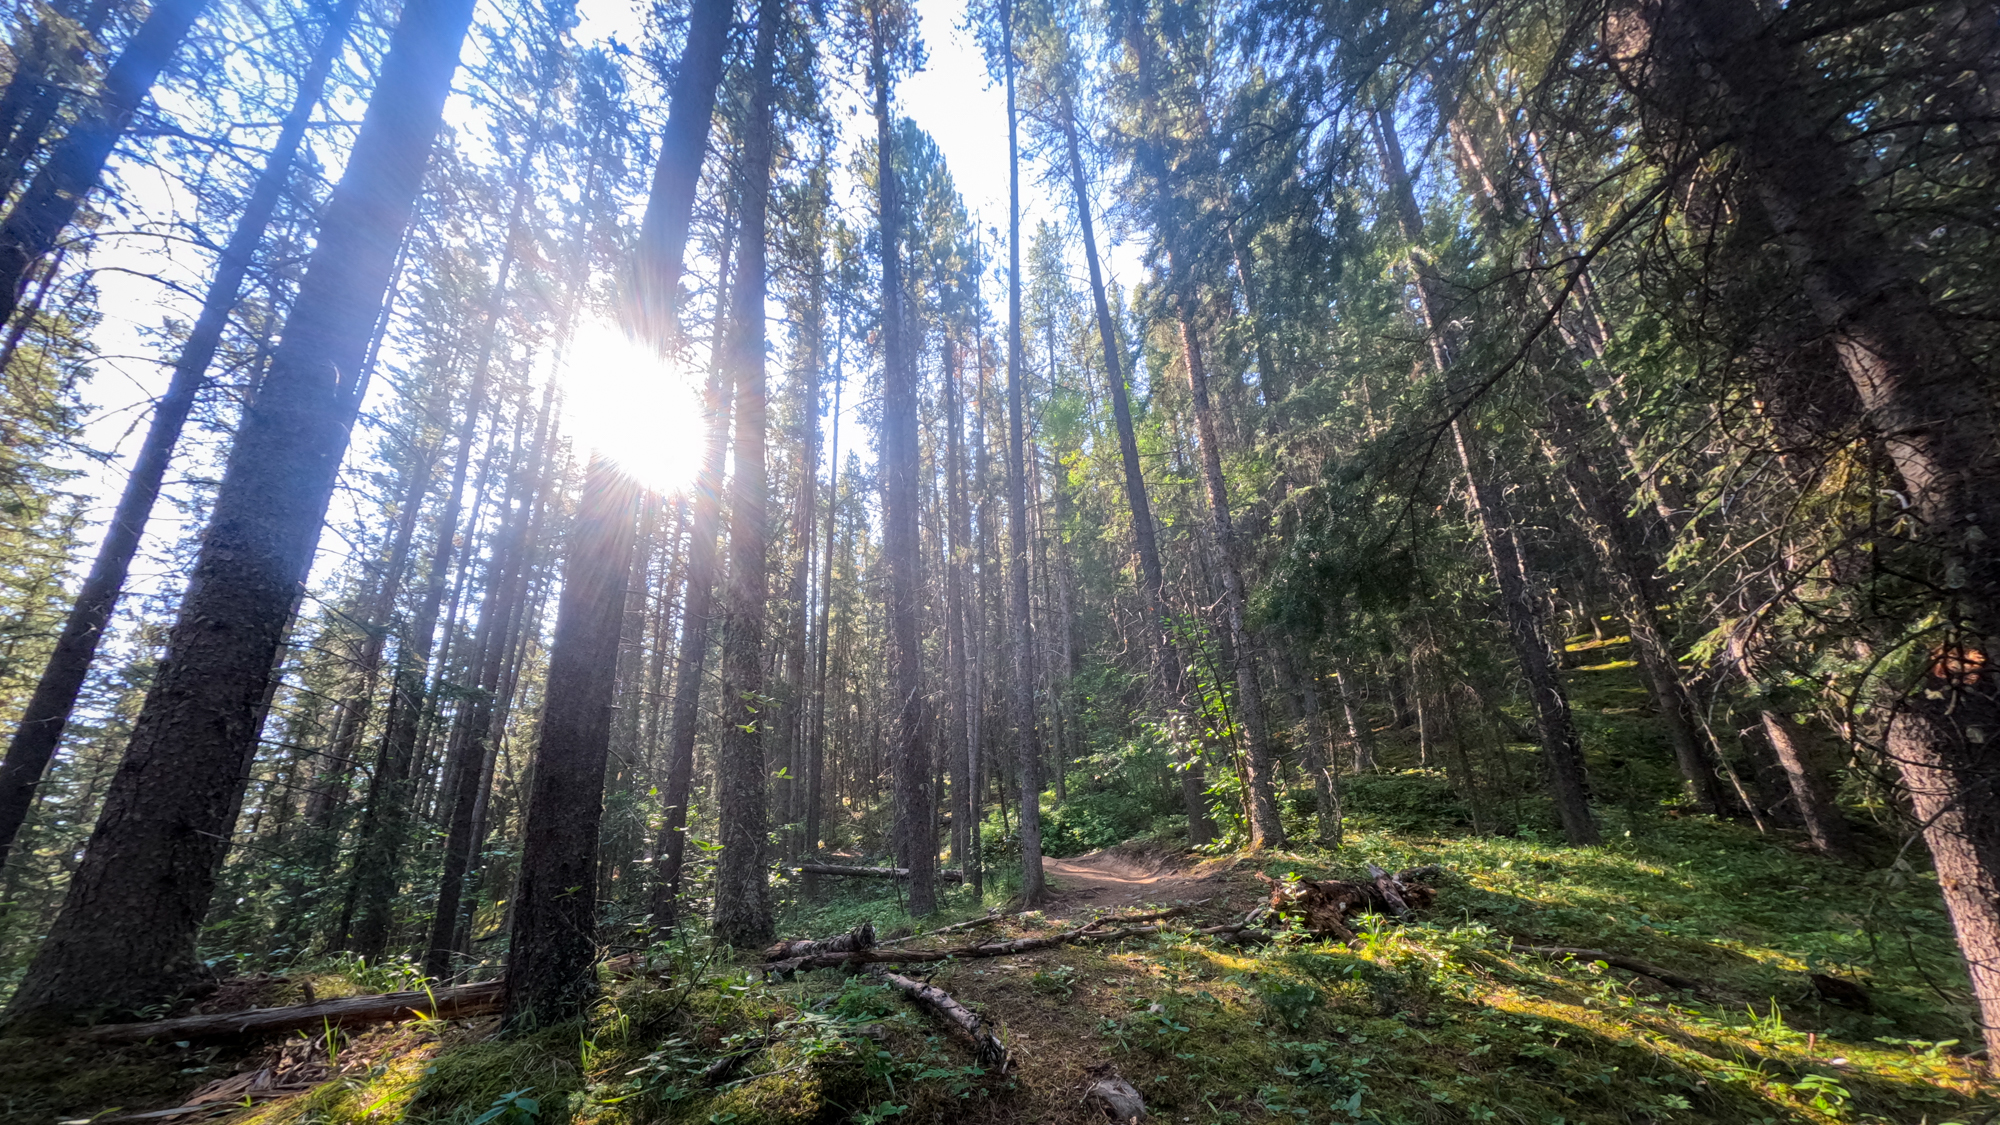
The first 2.5km is a reasonably consistent incline that I had to power hike most of. You could certainly run much of it on a solid day. The 1.5km before the big climb is a nice runnable section. Then the climb happens, and this is definitely more scramble than run. 1.5km of this, and you are at the summit. On the other side, you have a steep descent of 2km, which stronger runners could likely run (bring poles). The last 2.5km is excellent, runnable, gentle grade downhill.
What to Bring
I took my Soloman pack with 2l of electrolites and a 500ml flask of water. A couple of Cliff bars and a few gels to be safe. I took my GoPro and poles were tucked in my Soloman quiver. I did not pull them out until the descent.
Bear Spray – Always. Period. End of Story.
Google Earth Fly By